Certified NiFi on GCP
Get up and running quickly without needing to spend time setting up and administering your environment. We take care of all of the initialization, configuration, and stabilizing for Nifi. Our process will help protect you from common pitfalls associated with open source software such as JVM issues and logging configuration.

Up and Running in Minutes
Launch from GCP
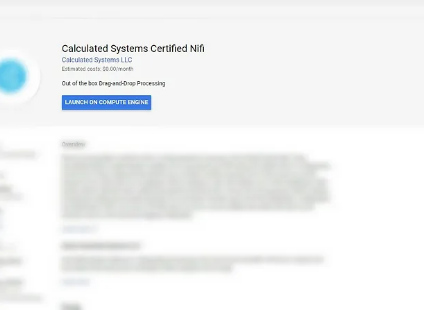
- Go to our Marketplace Page
(Click Above) - Press “Launch on Compute Engine”
Configure GCE
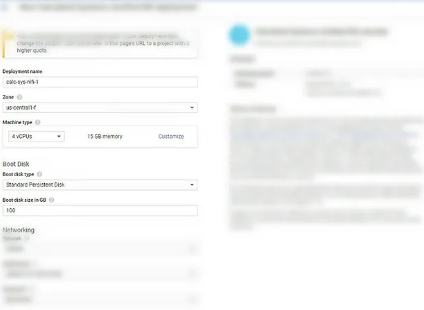
- Name your deployment and select your zone, machine, and disk.
Note: Recommended defaults are filled in.
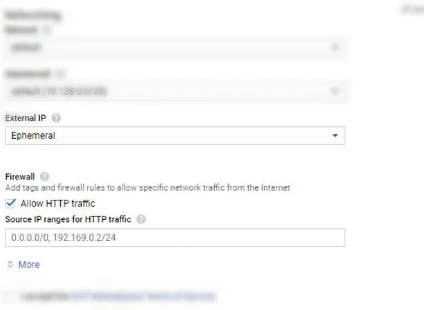
Security Options
- You will connect via password protected HTTP interface
Entering 0.0.0.0/0 for all IP origins is considered “default”
For additional security you may wish to restrict the IP Source range to just your IP address
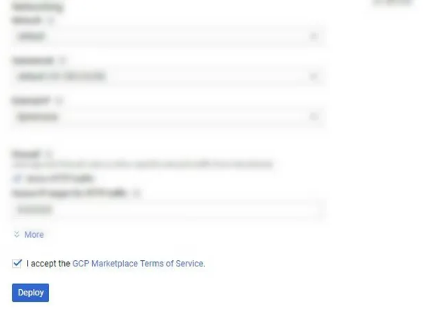
Accept and Deploy
- Accept the terms of Service
- Click the Deploy button
- Wait a until the deployment is completed
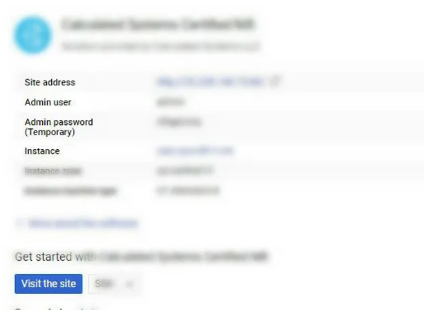
Connect to NiFi
- Click “Visit the Site” and you will be prompted by a login page
- The username and password are available on the deployment page
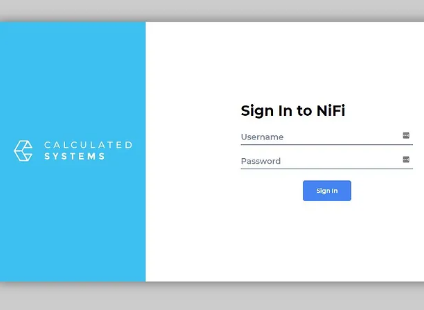
Login to NiFi
- Login to NiFI via the credentials on the deployment page
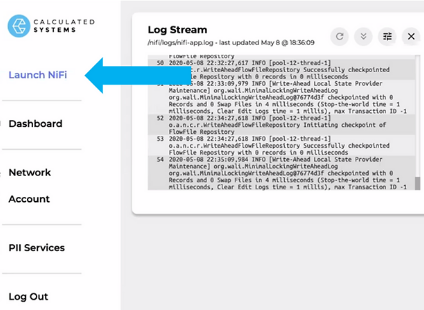
Launch NiFi
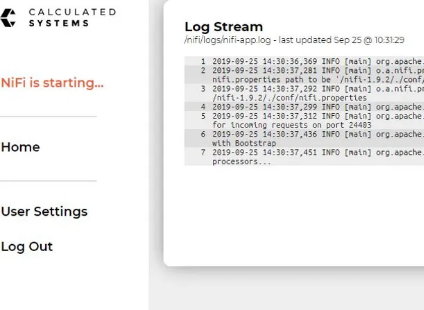
- NiFi Starting will be displayed while the system completes initialization.
The Log stream window will display the current nifi-app.log so power users can monitor progress
Enjoy!
- Press the launch NiFi button when it turns blue
Get to Work!
Next Step:
Download Nifi for Dummies ebook
