Certified NiFi on AWS
Get up and running quickly without needing to spend time setting up and administering your environment. We take care of all of the initialization, configuration, and stabilizing for Nifi. Our process will help protect you from common pitfalls associated with open source software such as JVM issues and logging configuration.

Launch from AWS
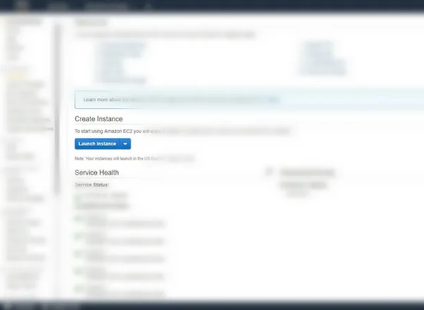
- Go to your AWS Instance launcher or click the button above
- Press Launch Instance
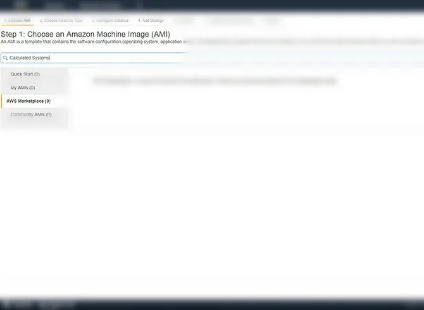
Select the AMI
- Search for “Calculated Systems” in the search bar
- Select “AWS Marketplace”
Pick your Instance
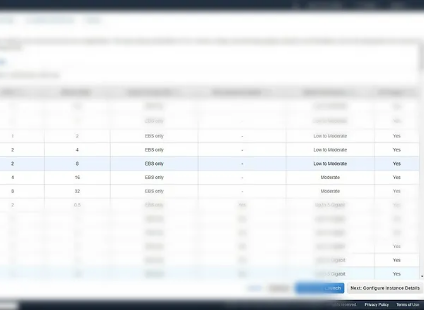
- Press the blue select button next to calculated systems
- Pick your instance type we recommend T2.large for starters
- Click “Next: Configure Instance Details”
Name your Nifi
- Click “Next: Add Storage. We Suggest setting a volume of >50GB for the root volume”
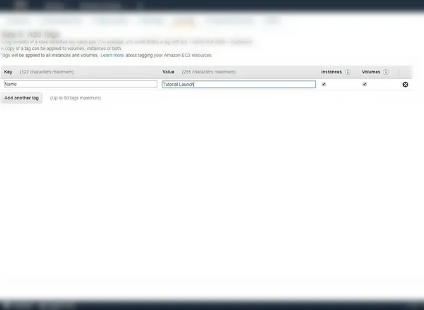
- Click “Next: Add tags”
- Select ‘click to add Name Tag’ and name your Nifi
Optional Security
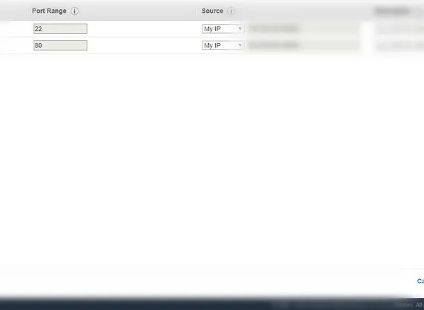
- Click “Next: Configure Security Group”
- If you wish to control access to nifi select “My IP” from source for all rows. Port 80 is required.
- Press Review and Launch
Launch Server
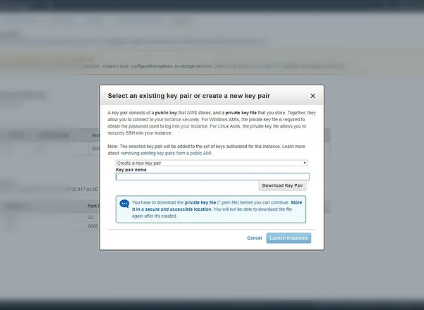
- Press Launch
- Create an new keypair or use an existing one
- Press Confirm
- Press “View Instances”
Get Credentials
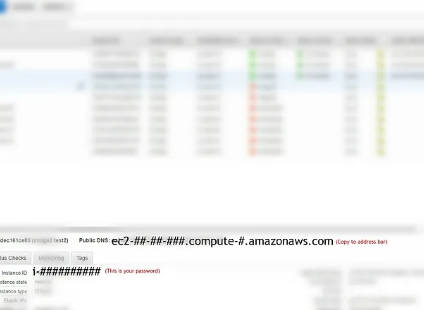
- Copy the variable “Public DNS (IPv4)” into your address bar
- You will be prompted for a username and login
Username: admin
Password: the instanceID in the instance description
Logging In
- Login to your service. The default username and password is listed in the previous step
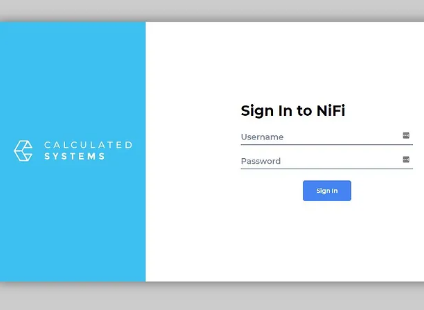
Launch NiFi
- NiFi Starting will be displayed while the system completes initialization
The Log stream window will display the current nifi-app.log so power users can monitor progress
First time launch takes up to 5 minutes
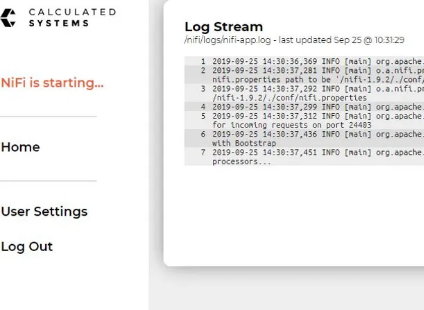
Click Launch
- Nifi is Starting will become “Launch NiFi”. Click this to get started right away!
NOTE: During first time startup an additional couple of minutes may be required. after “Launch NiFi” is displayed.
Next Step:
Download Nifi for Dummies ebook
